MediaCentral | Services development
MediaCentral | Services are deployed as docker images placed as pods in kubernetes cluster.
To simplify service development the MediaCentral | Service toolkit contains a scaffold that can be
connected to a MediaCentral gateway. This way developers can run and test their code as service that is connected to a MediaCentral gateway.
Once code is available on the server it has to be wrapped up and installed on the correct directories on the kubernetes server(s).
This development process is supported starting with MediaCentral 2018.6. Earlier versions have a different API and deployment model.
Prerequisites
- node.js and npm
- MediaCentral 2018.6
Installation
Download the Avid MediaCentral | App Creator Tool or
MediaCentral | Service Starter kit to kickstart your MediaCentral | Service development.
Using the proxy-bal tool
The proxy-bal is a connection npm package that takes AppID and AppSecret to connect to MediaCentral gateway.
Note: After installation and use of cloudux-starter-kit-service you can change it’s host connection and port in createdService/project.config.json.
Look for:
connection => hostIp (for host of your MediaCentral machine)
How to include proxy-bal
Proxy-bal is package accesible only for developers with a Avid developer account
Steps include proxy-bal:
- Download proxy-bal package from https://my.avid.com/cpp/sdk/apc (Avid Platform Connector Node)
- Extract downloaded files
- Enter the extracted directory and then node_modules directory
- Extract proxy-bal.tgz file
- Rename package directory to proxy-bal
- Copy the proxy-bal directory to node_modules in service directory
- Open command line inside proxy-bal directory and type npm update
Why my service won’t connect because of ‘unauthorized token’?
Because you need to receive appID and appSecret and paste it to your project.config.json.
After that in created project dir just type:
npm install
After installation simply use:
npm start
This will launch the service which will connect to the MediaCentral | UX.
Troubleshooting
If you are using App Creator Tool and receive error Cannot reopen window. Add "code" to path
it means your Visual Studio Code is not added to your environmental variables.
To fix this problem follow official Visual Studio Code instruction depending on your system:
NOTE: If the examples on github do not work you can contact us on our developers forum.
Distribution
Cloudux-starter-kit-service and Avid MediaCentral | UX App Creator Tool contains all the tools you need to distribute your app.
There is an instruction step-by-step:
Set Up and develop your application with:
Register as a developer. By downloading one of the toolkits that you are interested in working with. This will be deposited in your My Avid account with an Evaluation license agreement.
Get Certified. Avid requires that you become certified as an Avid Certified Developer for the toolkit that you are using; once you download a toolkit, you’ll be registered to take the exam at any time. Use My Certifications to find the exams.
After you are certified go to your developer certificates:
a) Fill up the information you need and upload your
.pempublic ssh key and click submit.NOTE: Here are the instructions for creating .pem key.
b) You will see your certificate under Issued Certificate > on the right side.
Once you have the certificate you need to create Application Profile for your app to be deployed to AVID Sellers portal.
You need to register seller account and after it’s approved you can Add product.
NOTE: It will take some time for our team to review information you provided. Once that is done you will receive approved App profile with App ID and App secret.
Publishing your App. Depending on tool you are using you should ho with:
b) App Creator Tool publishing
NOTE: To publish with any of those options you need AppID and AppSecret from previous step.
If Your app is active you will see it’s status changed to “Active”
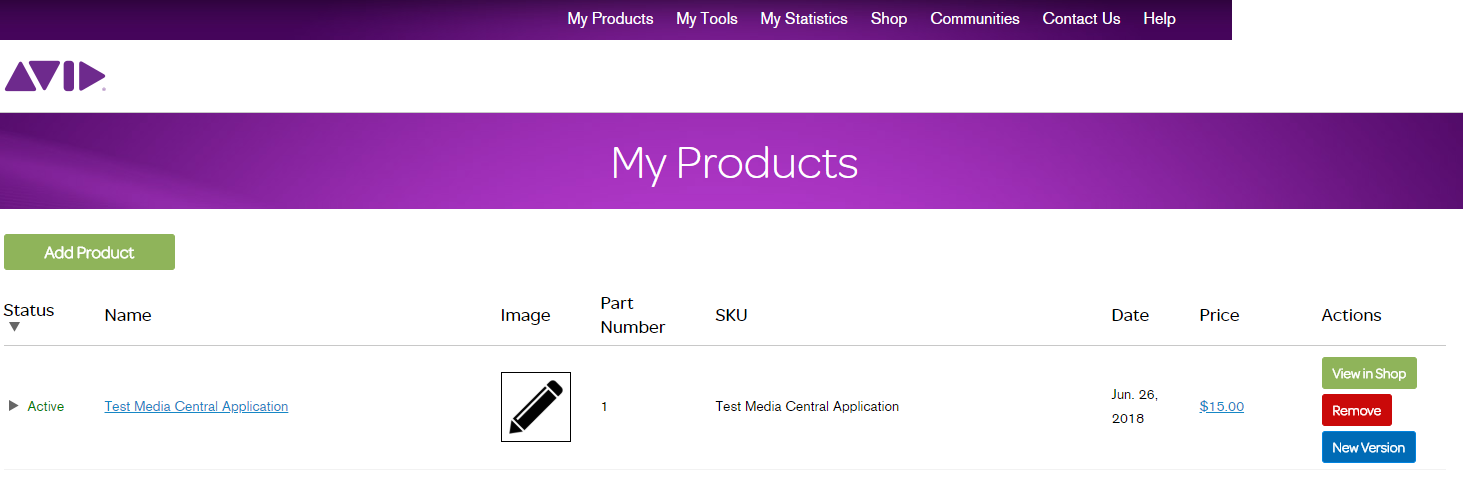
Now You are able to sell Your product!