Development | App Creator Tool
Installation
NOTE: Before you proceed you need to have nodejs and npm installed and Visual Studio Code.
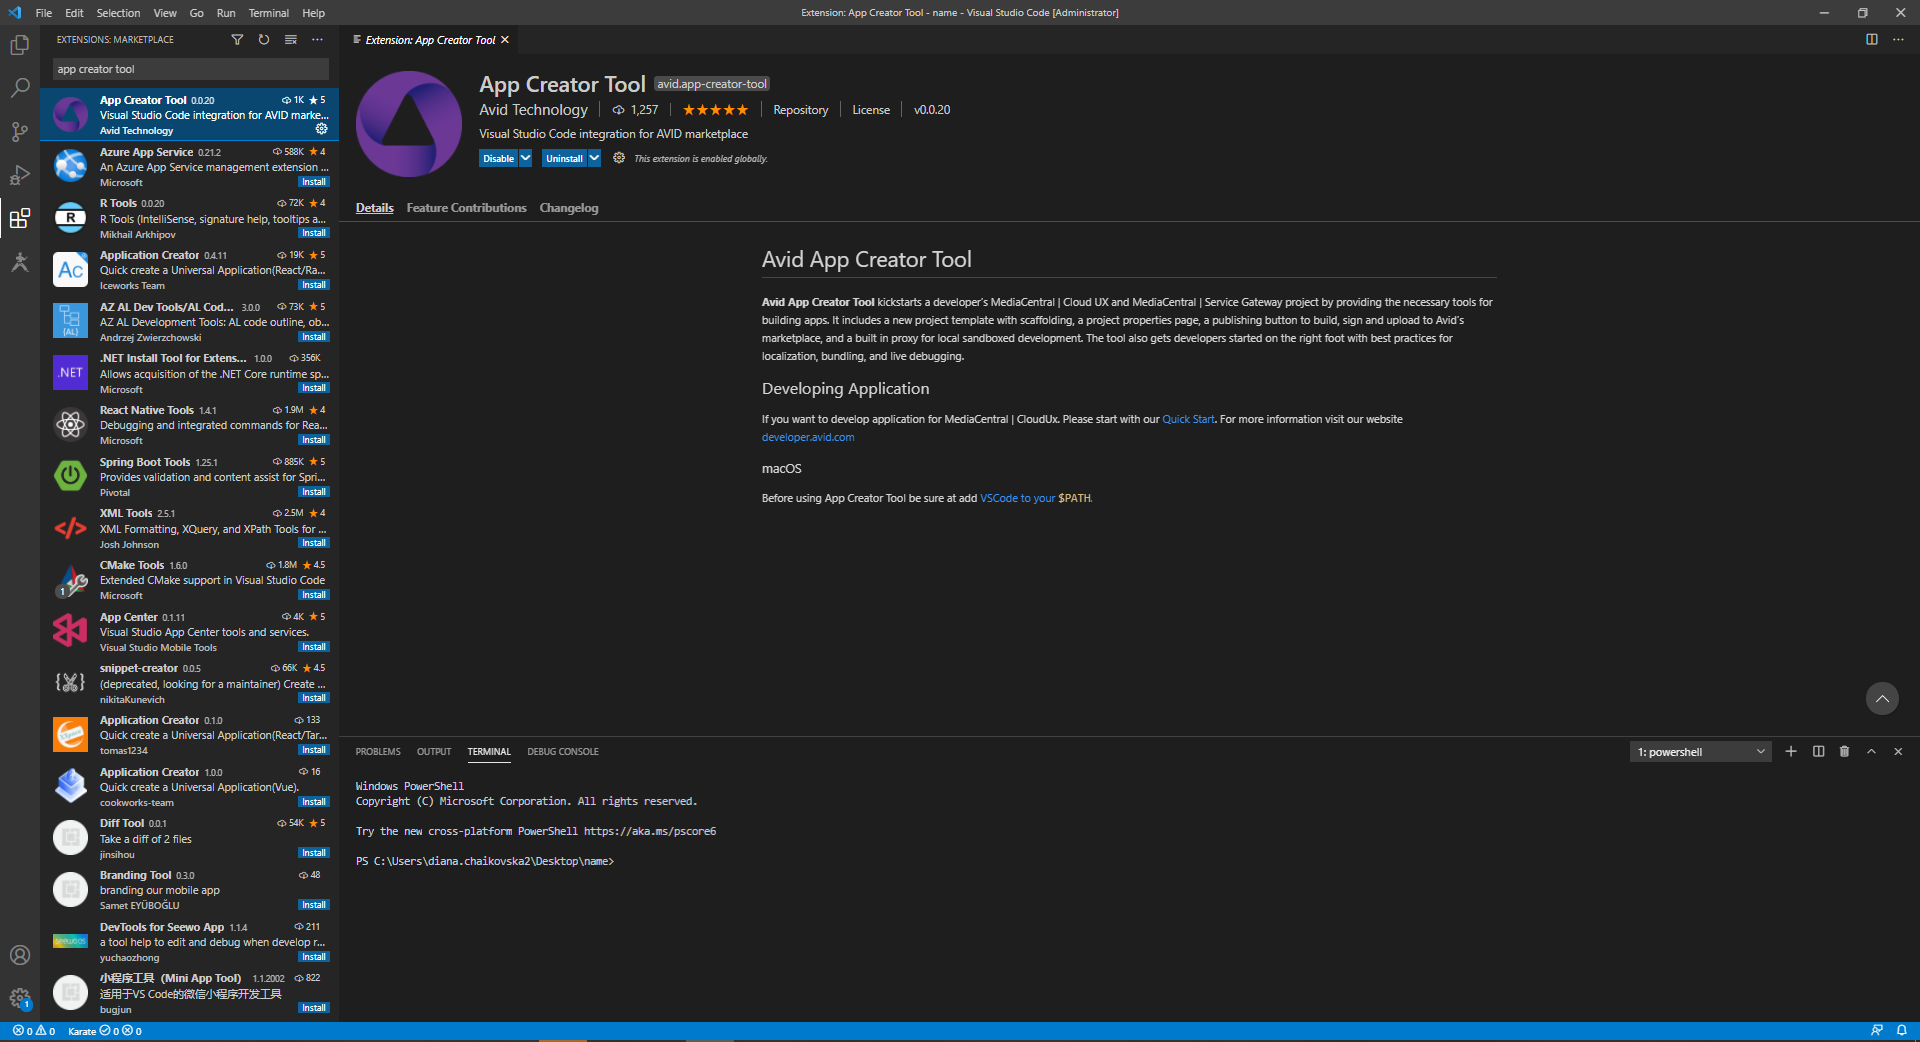
- Open Visual Studio Code and go to Extensions tab and find "App Creator Tool".
- Install "App Creator Tool" extension.
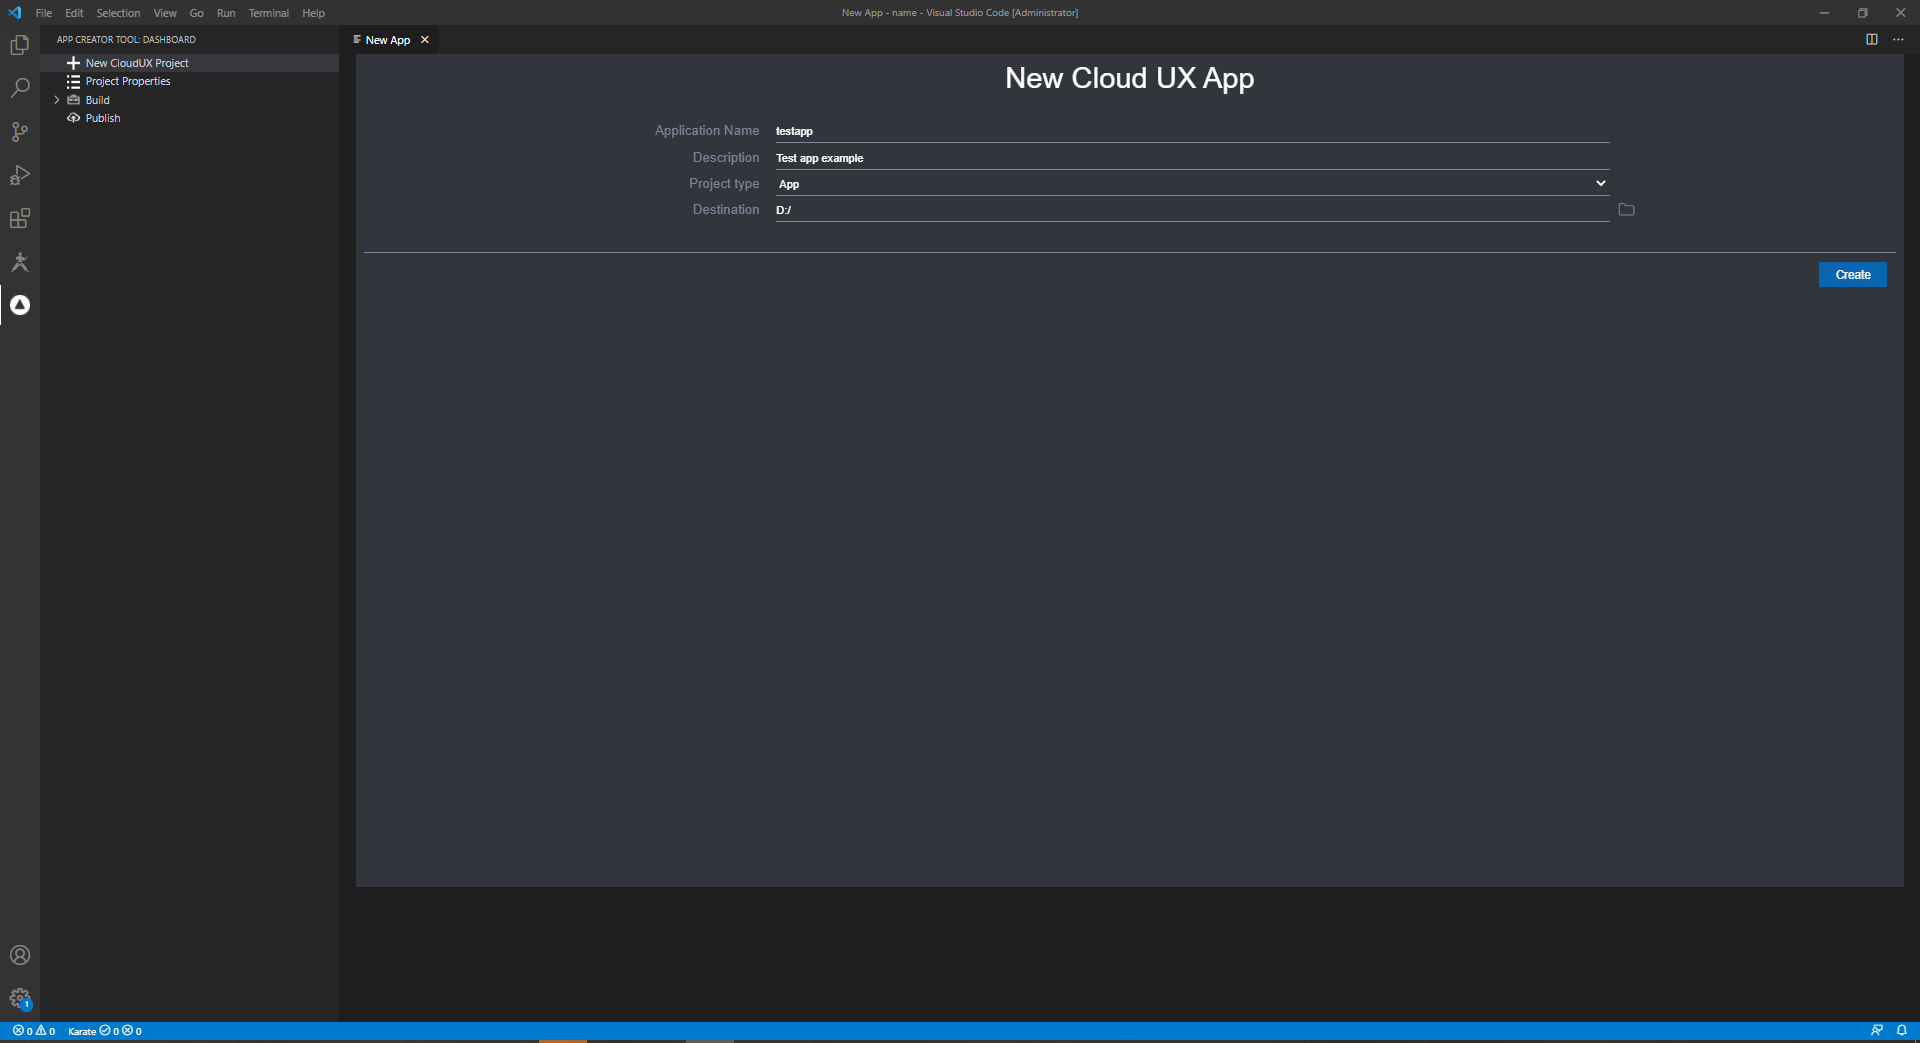
- Create new application to work on it.
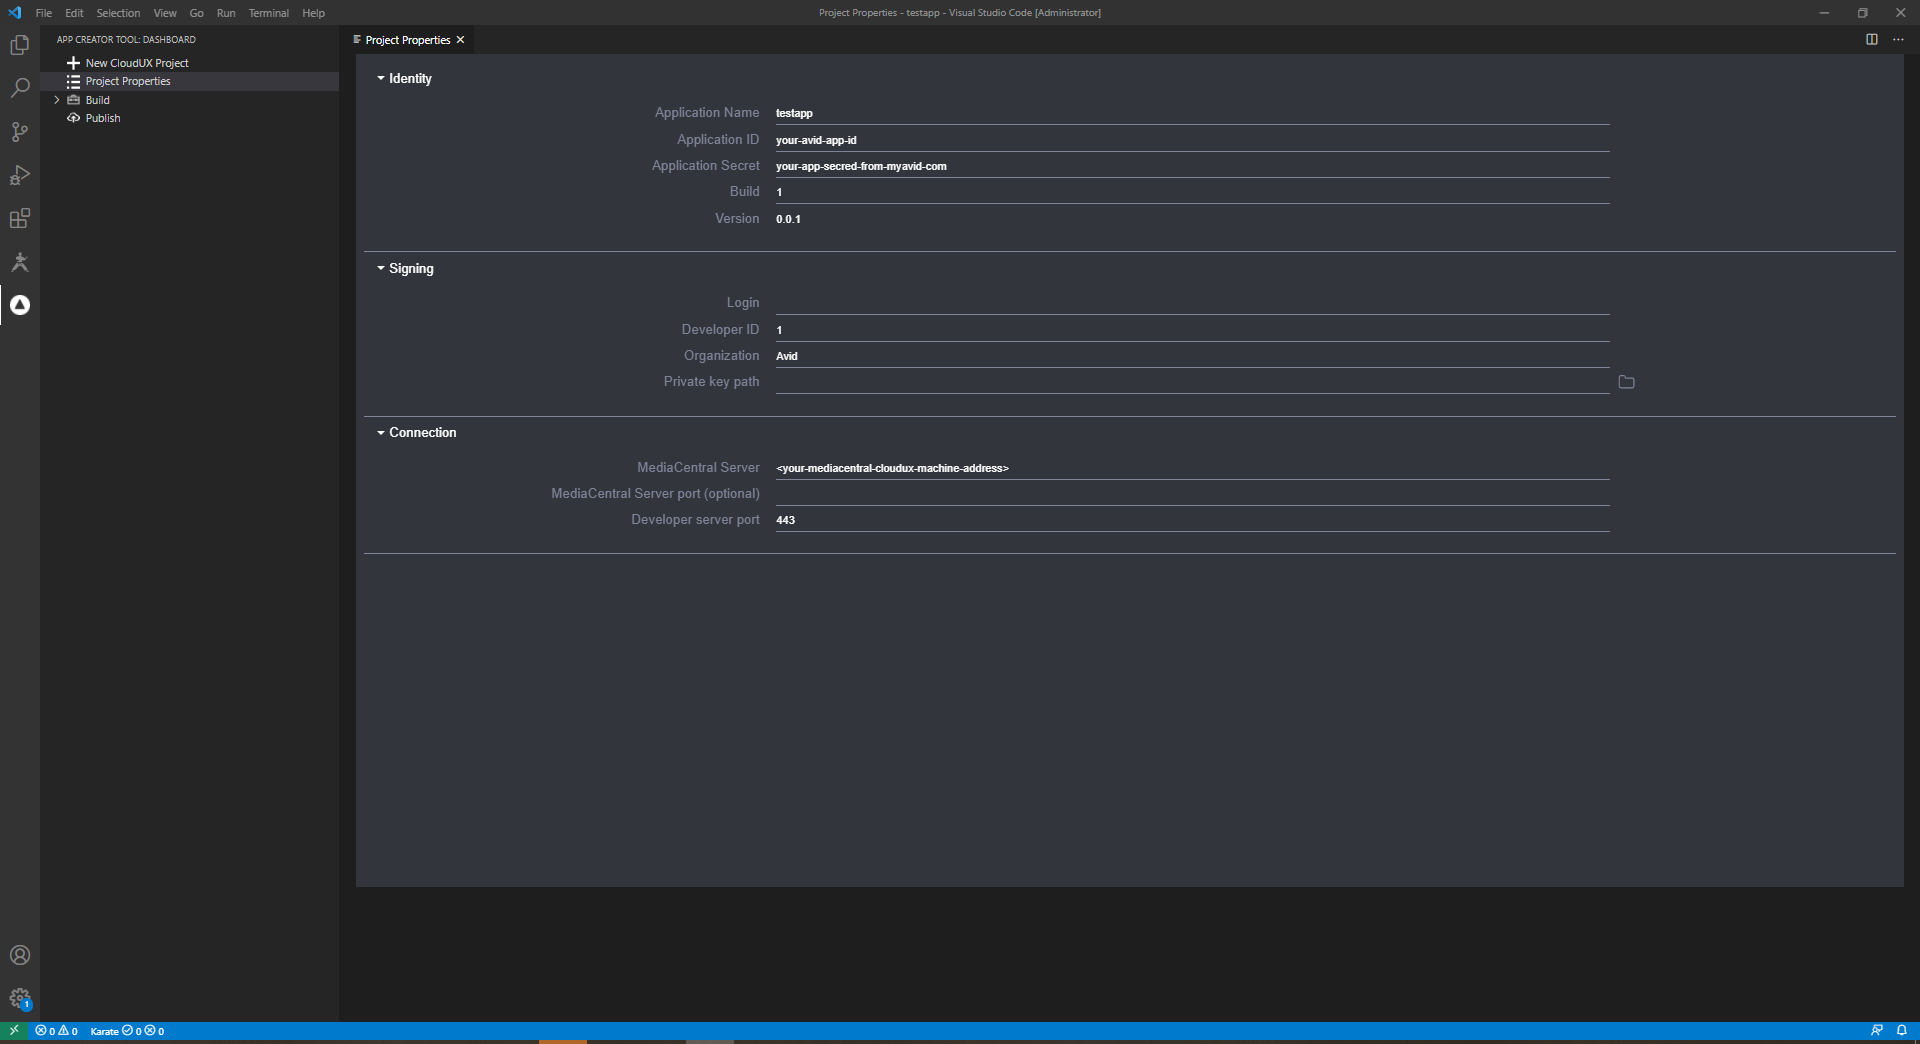
- Use "Project Properties" to customize properties of your feature pack.
- App ID and App Secret is needed for feature pack build.
- For proxy development you need to set your CloudUX address and "Development server port" to 443.
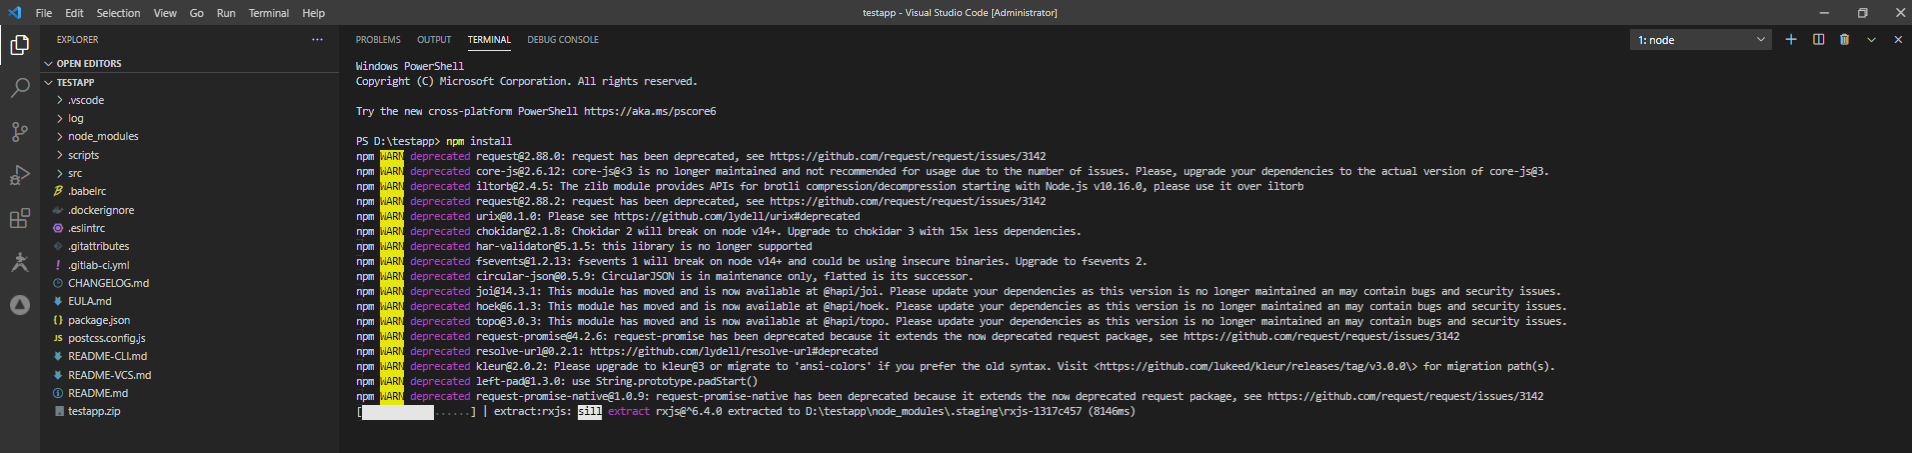
- In integrated terminal type
npm installand wait for modules to install.
- For Windows OS press Win + R and type
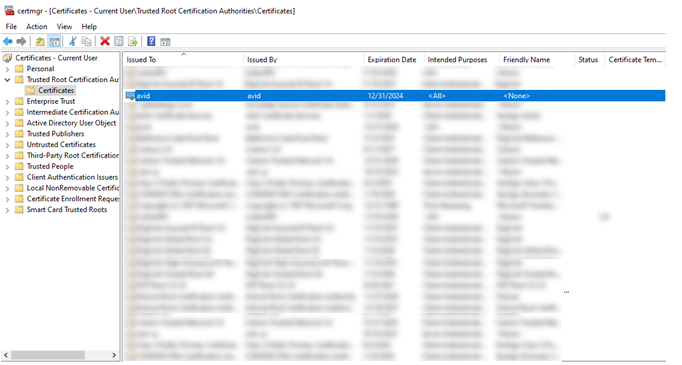
certmgr.msc. - Use the following path to import certificate: Trusted Root Certification Authorities -> Certificates.
- Right click on Certificates. Go to All Tasks -> Import... Press Import...
- In the "File name" section browse to ./certs/ca.crt in your project folder and add the certificate to trusted.
- To verify correct installation find "avid" in the list of the trusted certificates.
How to generate new certificate for proxy development
If your proxy development certificate has expired you can generate a new one following the next steps using a linux based OS with openssl package installed.
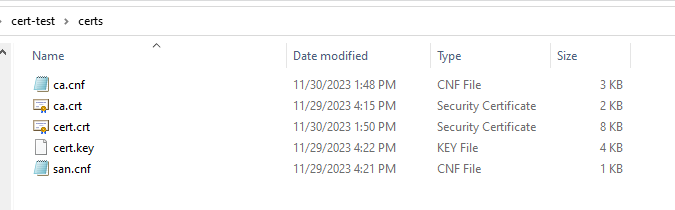
- Navigate to the
./certsfolder inside yor project directory. All necessary configuration files are provided with the sample project. - To generate a new root certificate run the following command
openssl req -newkey rsa:4096 -nodes -keyout ca.key -x509 -days 397 -out ca.crt -outform PEM - Create a certificate request next
openssl req -out cert.csr -newkey rsa:4096 -nodes -keyout cert.key -config san.cnf. - Sign the request and create a new certificate by peforming the following steps
touch index.txtecho "01" > serial.txtopenssl ca -config ca.cnf -policy signing_policy -extensions signing_req -out cert.crt -infiles cert.csr
- Follow steps in the previous section to import the new ca.crt certificate
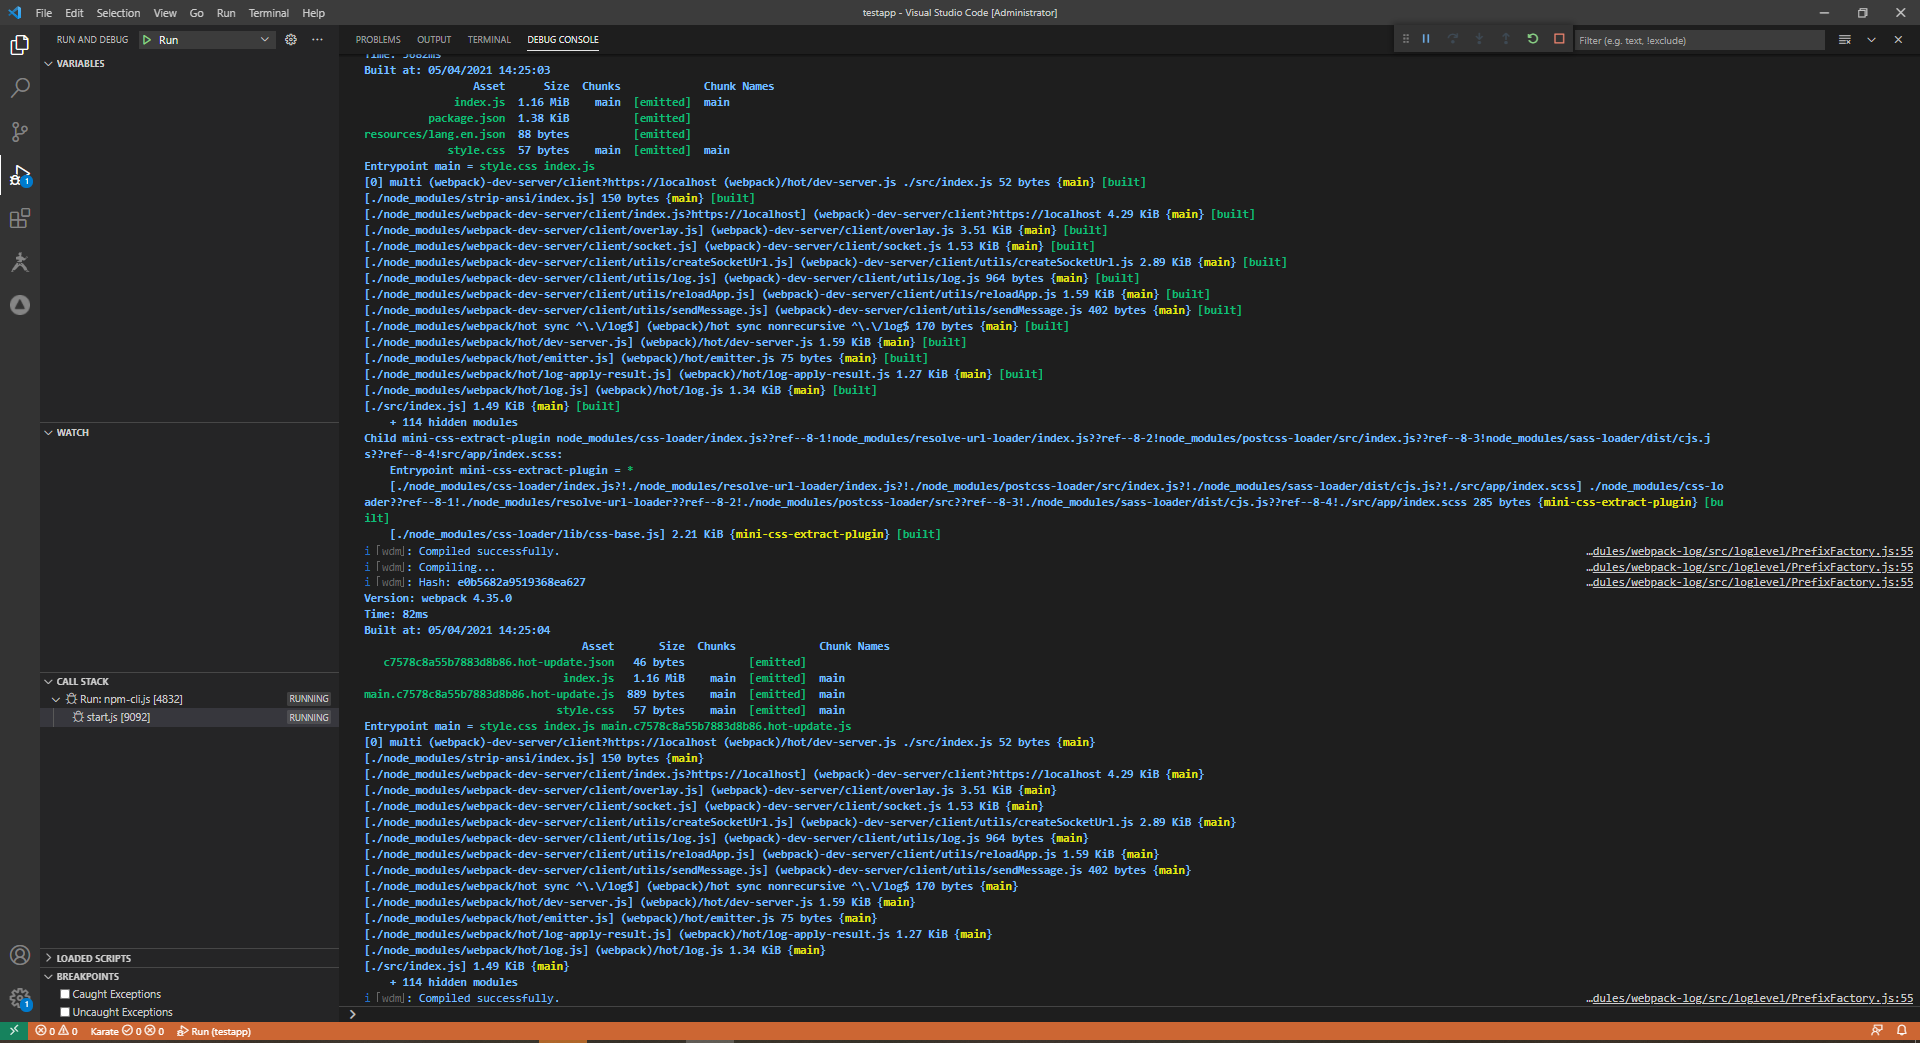
- Click F5 or in integrated terminal type
npm startto run development proxy. - !!Notice: you don't need to deploy your feature pack to be able to see it in proxy mode!!
- !!Notice: Your CloudUX address must be specified in "Project Properties" and it must be running to be able to use proxy development mode!!
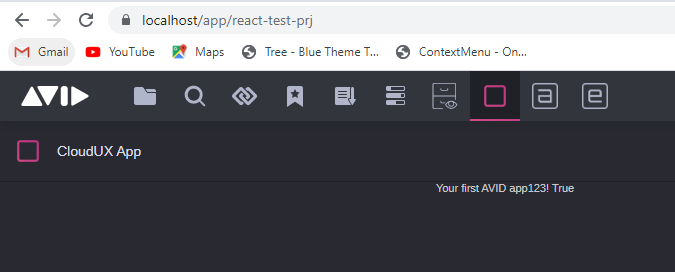
- In browser go to https://localhost. You will be able to see your app.
Building
NOTE: For building you need to have docker and helm installed and available in $PATH on your machine.
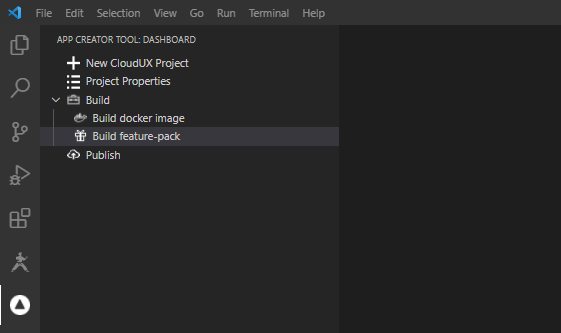
- Once development is done and AppID, AppSecret, Organization were set in "Project Properties" you can build your feature pack.
- Under "Build" section click "Build feature-pack" button to start the process.
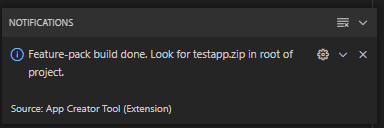
- When build process is done you will get notification from VSCode.
- In your project folder you will be able to see featurepack_name.zip file ready for deployment.